Introduction
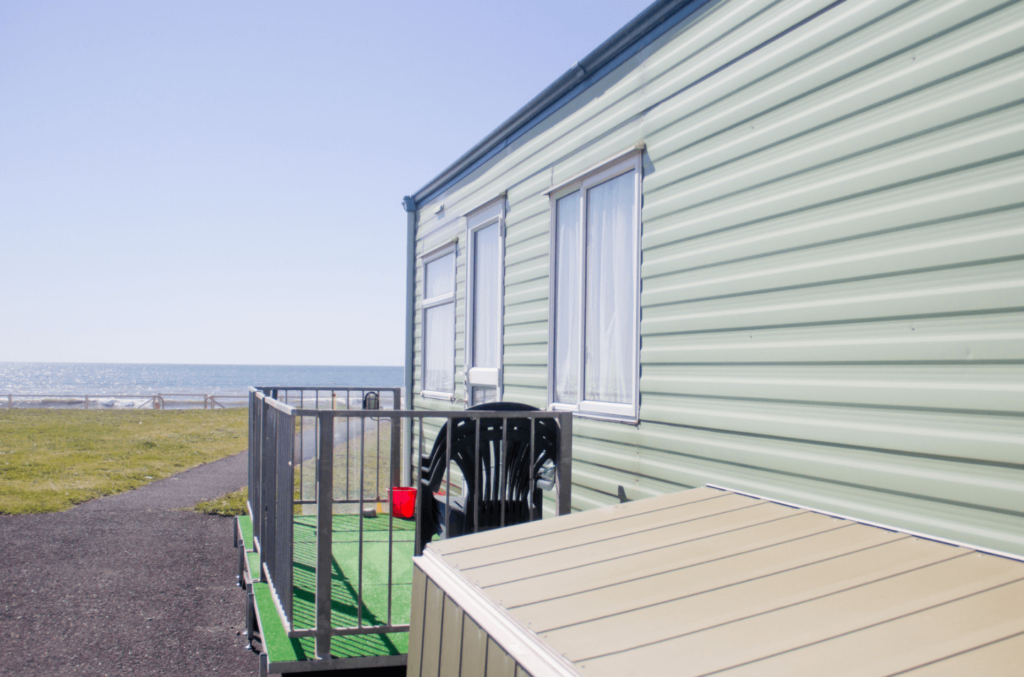
Cladding is the process of covering one material with another for aesthetic, protective, or insulation purposes. In the context of static caravans, cladding provides an additional layer to enhance appearance, increase protection against the elements, and improve insulation. DIY caravan cladding has become increasingly popular among caravan owners, as it offers a cost-effective way to refresh the look of an aging caravan or enhance its durability. The benefits of cladding a static caravan are manifold, from extending the lifespan of the caravan to potentially increasing its resale value.
Types of Cladding Materials
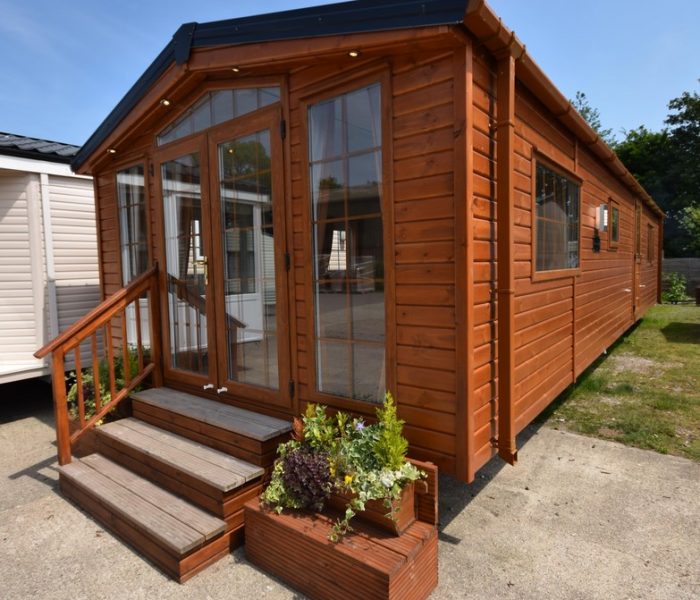
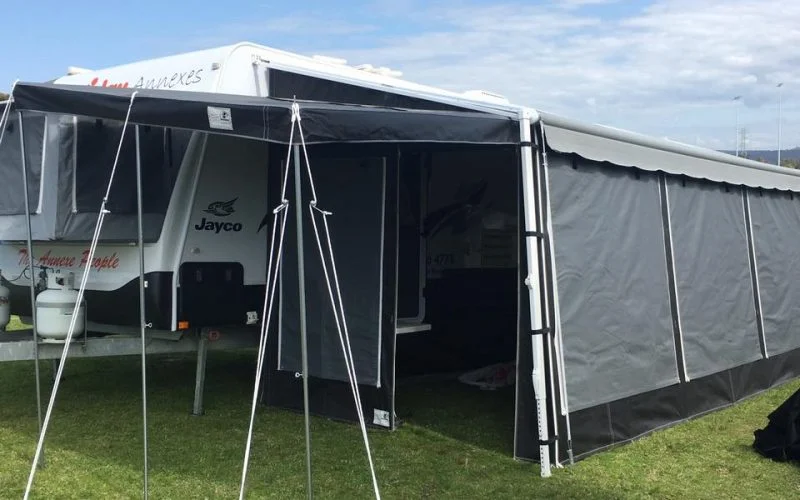
When it comes to cladding a static caravan, there are several materials to choose from, each with its own set of advantages and disadvantages. Vinyl siding is a popular choice due to its affordability, durability, and ease of maintenance. Timber or wood cladding offers a natural and rustic look but requires regular maintenance to prevent rot and decay. Metal cladding, such as aluminum or steel, is durable and resistant to rust, making it ideal for caravans in coastal areas. Composite cladding combines the benefits of wood and plastic, offering a balance between aesthetics and durability. When selecting caravan cladding sheets, it’s essential to consider factors like cost, maintenance, and the desired appearance.
Tools and Materials Needed
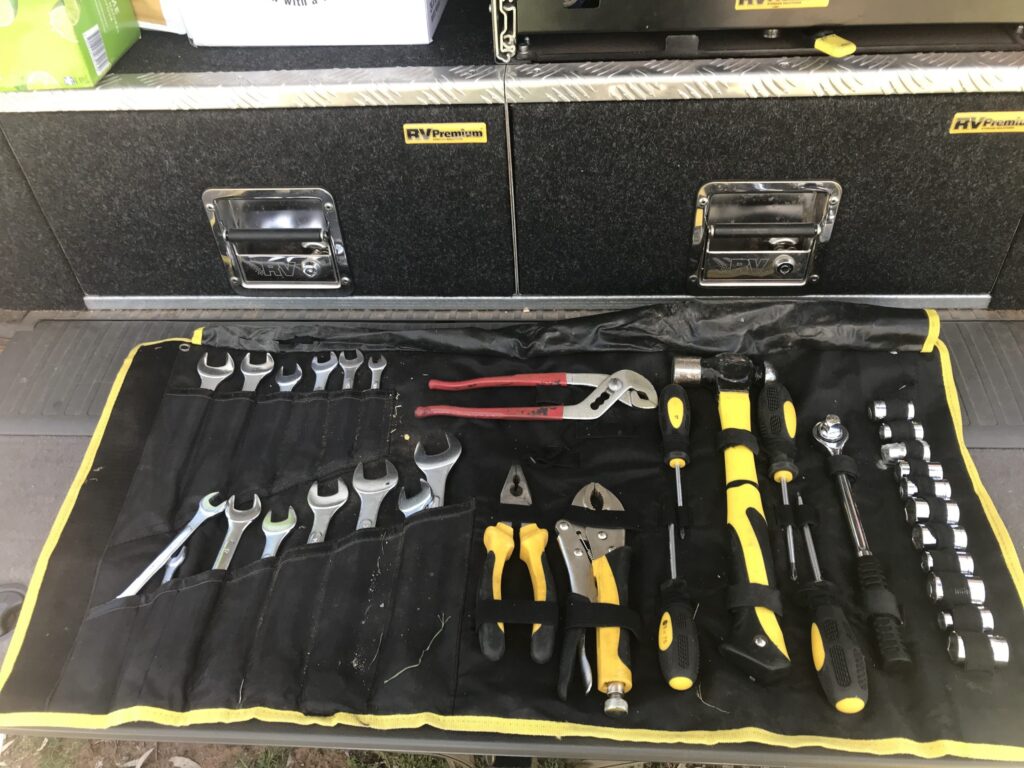
Embarking on a DIY caravan cladding project requires the right tools and materials to ensure a smooth and successful outcome. Essential tools include a tape measure, level, saw, hammer, and nails or screws. Safety equipment, such as gloves, safety goggles, and a dust mask, is crucial to protect oneself during the installation process. Preparation materials, like cleaning agents and sandpaper, are necessary to ensure the caravan’s surface is clean and smooth, ready for the new cladding sheets. It’s always a good idea to have extra caravan cladding sheets on hand in case of mistakes or miscalculations.
Preparation Before Cladding
Before starting the cladding process, it’s vital to assess the condition of the caravan. Any damages, such as dents, holes, or rust, should be repaired to ensure a smooth surface for the new cladding. Cleaning the caravan thoroughly will remove any dirt, grease, or old paint that might interfere with the adhesion of the new cladding. Measuring and marking are crucial steps in the preparation phase. Accurate measurements will ensure that the caravan cladding sheets fit perfectly, while marking will guide the installation process, ensuring a symmetrical and professional finish.

Step-by-Step Cladding Process
The cladding process begins with removing any old cladding or siding from the caravan. This step ensures a clean slate for the new materials and allows for the inspection of any hidden damages. For those looking to improve the caravan’s insulation, this is the ideal time to install insulation materials. A moisture barrier is then applied to prevent water infiltration, which can lead to mold growth or structural damage. The static caravan cladding sheets are then installed, starting from the bottom and working upwards. Special attention should be paid to cutting and fitting the sheets around windows, doors, and other fixtures. Once the cladding is in place, sealing the edges and adding finishing touches will ensure a watertight and aesthetically pleasing result.
Maintenance and Care
Once your static caravan cladding is in place, it’s essential to ensure its longevity through proper maintenance and care. Regular cleaning is crucial, especially for materials like timber, which can accumulate dirt and lose its luster over time. Using gentle cleaning agents and soft brushes can help maintain the shine and appearance of your caravan cladding sheets. Periodic inspections are also vital. Over time, cladding can develop minor damages from weather elements or physical impacts. By catching these early, you can prevent more significant issues down the line. Repairing and replacing damaged cladding promptly ensures that your caravan remains protected and looks its best.
Cost Considerations
Budgeting is a crucial aspect of any DIY caravan cladding project. Different cladding materials come with varying price tags. For instance, while vinyl might be more affordable upfront, timber or composite cladding might offer better longevity and aesthetics, albeit at a higher cost. Labor costs can also be a significant factor, especially if you’re hiring professionals. However, for those taking the DIY route, the primary expenses will be the caravan cladding sheets and any additional materials like insulation or moisture barriers. It’s always wise to factor in some extra costs for unforeseen challenges or mistakes that might arise during the cladding process.
Benefits of Cladding Your Static Caravan
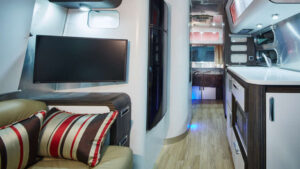
Cladding your static caravan offers a plethora of benefits. Aesthetically, new cladding can give your caravan a fresh, modern look, making it more appealing to the eye. From a functional perspective, cladding provides an additional layer of protection against harsh weather elements, ensuring that the caravan remains in good condition for longer. Improved insulation is another significant advantage, especially for those using their caravans in colder climates. With proper cladding, you can ensure better heat retention, leading to increased energy efficiency. Lastly, a well-clad caravan can fetch a higher resale value, making it a worthy investment for the future.
Potential Challenges and Solutions
Every DIY caravan cladding project comes with its set of challenges. Uneven surfaces can make the installation of caravan cladding sheets tricky. In such cases, using a leveling compound or sanding down high spots can help achieve a smoother surface. Moisture management is another challenge. Ensuring that there’s a proper moisture barrier in place can prevent mold growth and structural damages. Addressing gaps is crucial for a watertight finish. Using sealants or caulking can help seal any gaps, ensuring that water doesn’t seep in. Being prepared for these challenges and having solutions at hand can make the cladding process smoother.
Case Studies
Real-life examples can provide invaluable insights for anyone considering a DIY caravan cladding project. Case studies can showcase the transformation of static caravans before and after cladding, offering a visual representation of what’s achievable. These studies can also highlight the challenges faced during the cladding process and how they were overcome. For instance, a case study might detail how a particular type of caravan cladding sheet was chosen for its durability in coastal areas or how a caravan owner managed to clad their caravan on a tight budget. Lessons learned from these real-life experiences can guide others, helping them make informed decisions and avoid common pitfalls.
Conclusion
Cladding a static caravan is more than just a cosmetic upgrade; it’s an investment in the longevity, functionality, and value of your mobile haven. As we’ve explored throughout this article, the benefits of DIY caravan cladding are manifold. From the enhanced aesthetic appeal of fresh caravan cladding sheets to the reinforced protection against the unpredictable whims of nature, cladding ensures that your caravan remains a comfortable and secure space for years to come. Moreover, with the right materials and maintenance, you can also achieve improved energy efficiency, making your caravan a cozy retreat in all seasons.
However, as with any DIY project, it’s essential to approach caravan cladding with a well-informed plan. Understanding the various materials available, from vinyl to timber, and their respective pros and cons, will enable you to make choices that align with your aesthetic preferences, functional needs, and budget. Additionally, being aware of potential challenges and their solutions ensures that you’re prepared for any hurdles that might come your way. By drawing inspiration from real-life case studies and leveraging the insights shared in this guide, you can embark on your static caravan cladding journey with confidence and expertise. In the end, the effort and investment you put into cladding will not only rejuvenate the look of your caravan but also enhance its structural integrity, ensuring that it remains a cherished space for relaxation and adventure for many more years.