Understanding Caravan Mixer Tap
Importance and Functionality of Caravan Mixer Taps
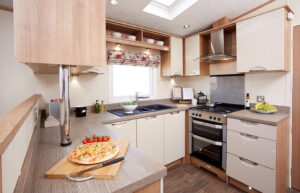
Caravan mixer taps are pivotal in managing the water supply within the caravan, especially in controlling the flow and temperature of the water. They are integral components of the caravan’s water system, ensuring that users can access both hot and cold water as per their requirements. The taps typically have two levers, each designated for hot and cold water, which are connected to a cartridge responsible for controlling the water flow and mixing the water to the desired temperature. Understanding the fundamental functionality of these taps is crucial for anyone looking to repair or replace them, ensuring that they can identify and address issues effectively.
Different Types and Removal Processes
It’s imperative to note that there are various types of caravan mixer taps available, each with its unique design and removal process. The specific model of the tap installed in your caravan can usually be identified through the caravan manual or by consulting an expert. Before attempting to remove a caravan mixer tap, it is vital to gather information about the specific model and understand its assembly and disassembly processes. This ensures that the removal is conducted accurately and safely, preventing any inadvertent damage to the plumbing system.
Components of a Caravan Mixer Tap
Tap Assembly and Lever
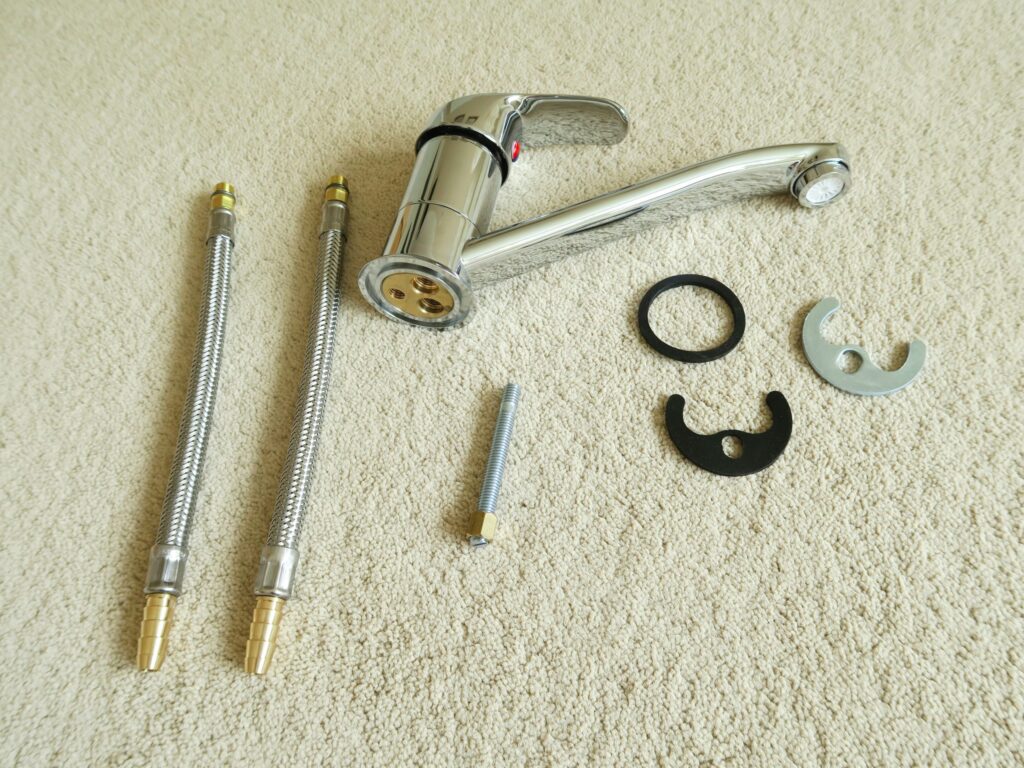
The tap assembly is the core component of the mixer tap, responsible for controlling and mixing the hot and cold water to achieve the desired temperature. The lever, typically made of plastic or metal, is attached to the tap assembly and is utilized to control the flow and temperature of the water. Understanding the intricacies of the tap assembly and lever is crucial, as it allows individuals to identify issues such as leaks or malfunctions effectively and address them appropriately, ensuring the longevity and functionality of the tap.
Cartridge, Rubber Seal, and Other Components
The cartridge, often made of ceramic or plastic, plays a vital role in controlling water flow and temperature. The rubber seal, located at the base of the tap assembly, prevents water from leaking out of the mixer tap. Other components like the shroud (a decorative cover) and micro switch wires (which control the water pump) also play pivotal roles in the overall functionality of the tap. Recognizing and understanding the role of each component ensures effective troubleshooting and replacement, maintaining the optimal operation of the mixer tap.
Tools Needed for the Task
Screwdriver and Allen Key
A screwdriver is essential for removing the screws that secure the tap in place, with the type (e.g., Philips head or flathead) depending on the screws used. An Allen key or hex key is also crucial for managing hexagonal socket screws, often used in securing the top of the tap. Having the right tools, like the appropriate screwdriver and Allen key, ensures that the removal process is conducted smoothly and effectively, preventing damage to the screws or the tap itself during the removal process.
Jubilee Clips and Flathead Screwdriver
Jubilee clips, used to secure hoses to fittings, might be necessary to ensure that the water hoses are securely attached to the new tap. Additionally, a flathead screwdriver or a sharp knife might be required to remove plastic covers that conceal screws. Ensuring that jubilee clips are securely fastened prevents leaks, while a flathead screwdriver facilitates access to hidden screws, making the removal process seamless and efficient.
Identifying the Problem
Identifying Leaks and Determining Source
Leaks are a common issue with mixer taps and identifying them, along with determining their source, is pivotal in ensuring effective repair or replacement. Leaks could originate from various components, such as a damaged cartridge, worn-out seals, or loose connections. Before attempting any removal or repair, it’s vital to turn off the water supply and drain the system to prevent any water damage or spills during the process.
Recognizing Damage or Wear and Tear
Visible signs of damage or wear and tear, such as corrosion, cracks, or persistent dripping, might indicate that the tap needs to be replaced. Identifying the specific model of your tap ensures that you purchase the correct replacement parts, ensuring compatibility and preventing further issues down the line. Addressing visible damage promptly prevents exacerbation of issues, such as escalated water damage or compromised functionality of the tap.

How to Remove a Mixer Tap from a Caravan
Turning Off Water Supply and Removing Screws
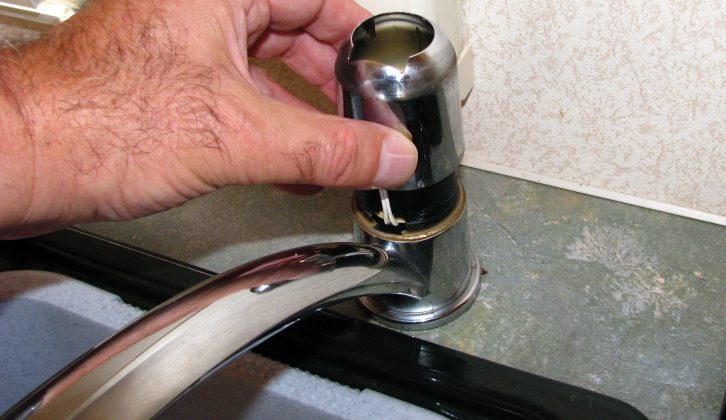
The initial steps in removing a mixer tap involve turning off the water supply to prevent any spills and carefully locating and removing the screws that hold the tap in place. These screws are typically located underneath the tap and may be concealed by screw caps, which can be removed using a flat-head screwdriver. Ensuring that the water supply is turned off and carefully managing screws prevents water damage and ensures that screws are not misplaced or damaged during the removal process.
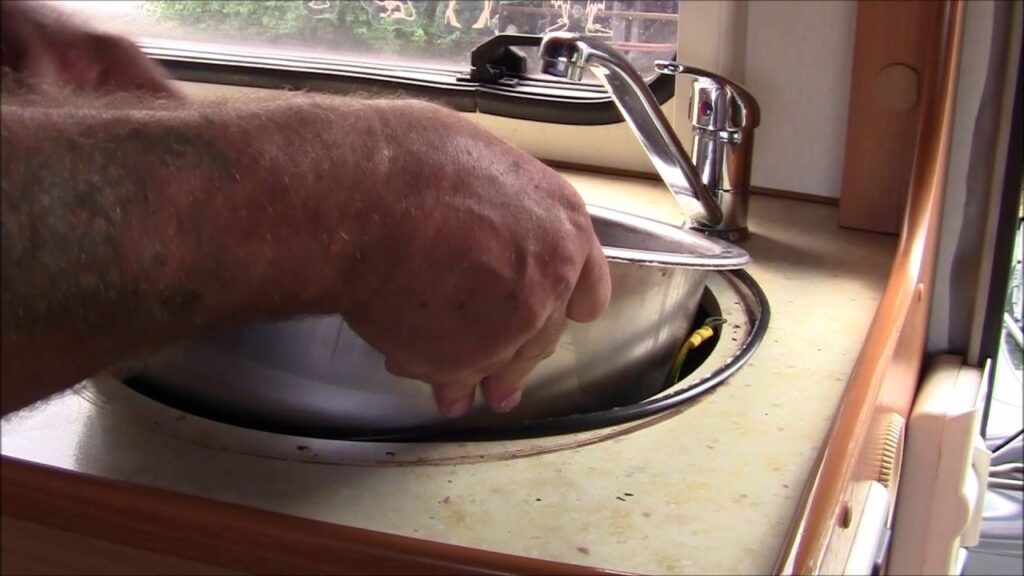
Handling Clips and Gently Removing the Tap
In some instances, the mixer tap may be secured with a clip, which should be gently removed using pliers. Once the screws and any clips are removed, the tap should be gently pulled away from the wall. If the tap is stuck, a thin blade or flathead screwdriver can be used to gently pry it away. Handling clips and the tap gently ensures that no damage is done to the plumbing or the wall, ensuring a smooth removal process and preventing additional repair work.
Conclusion
Navigating through the meticulous process of removing, replacing, and understanding the intricacies of a caravan mixer tap can be a daunting yet rewarding endeavor. This comprehensive guide has aimed to illuminate every facet of this task, from understanding the fundamental workings of a caravan mixer tap to the detailed steps involved in its removal, replacement, and the reconnection of the water system. The importance of recognizing and addressing issues like leaks, damage, or wear and tear promptly, and understanding the components and their functionalities, cannot be overstated, as these aspects are pivotal in ensuring the longevity and optimal performance of the mixer tap.
Equipping oneself with the necessary tools and knowledge not only empowers caravan owners to address issues independently but also instills a sense of confidence and assurance in managing their caravan’s maintenance. Moreover, understanding when professional help is warranted is equally crucial to prevent exacerbating issues or causing inadvertent damage. The detailed steps and explanations provided in the preceding sections serve as a robust resource, aiming to guide individuals through each phase of the process, ensuring that they can navigate through the removal and replacement of a caravan mixer tap with precision and confidence. May your journeys be free of leaky taps and filled with the assurance that comes with self-sufficiency and a well-maintained caravan.